
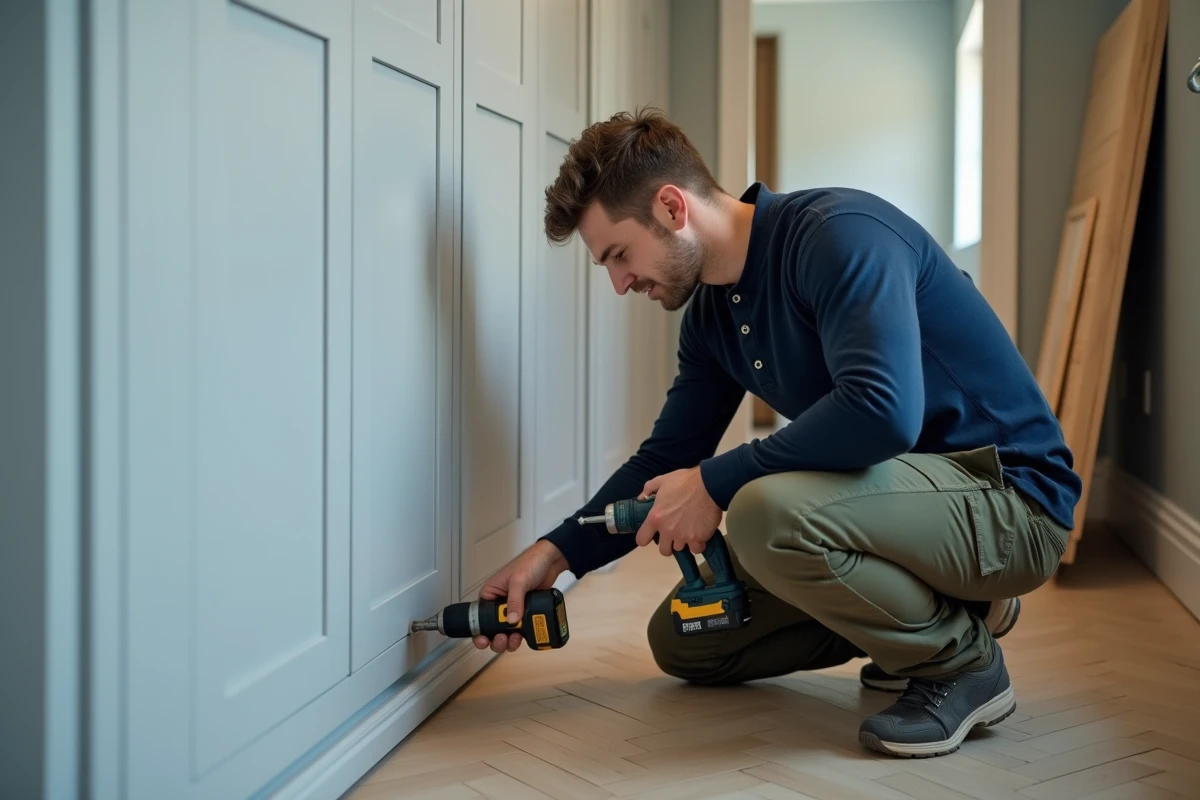
A poorly secured side panel compromises the rigidity of the entire piece of furniture. Whether it’s a finishing side panel or a structural separation between two modules, the side panel bears the load stresses from the shelves and rods. Its installation requires a methodical approach, especially when the wall support has irregularities or when the room’s configuration necessitates depth adjustments.
Securing a side panel on an irregular or angled wall
A perfectly straight and plumb wall remains the exception in typical housing. Old plaster, thick coating, slightly bulging partition: the lack of plumb can be measured by placing a straightedge or a long level against the wall. We recommend measuring the gap at the top, middle, and bottom of the panel.
Related reading : The best strategies to disappear without a trace: practical guide and tips
When the gap exceeds a few millimeters, you have two options. The first is to wedge the side panel with shims (wood strips shaped like a wedge) slipped between the panel and the wall, then concealed by a batten or a finishing profile. The second, cleaner option involves tracing the gap directly onto the edge of the panel with a compass, followed by cutting with a jigsaw to match the wall’s profile.
In a room corner, the usable depth often decreases as you approach the door or the return of the partition. We find it better to reduce the depth of the corner module rather than forcing a standard panel against a converging wall. The cut is made by removing the excess strip on the wall side, preserving the visible edge on the dressing side.
Read also : Discover How to Dress Elegantly at 70: A Practical Guide for Seniors
To delve deeper into the step-by-step installation method, a detailed guide explains how to secure a side panel on GPSO with drilling markers suitable for each type of partition.
Choosing wall fixings according to wall type
The type of anchor determines the long-term hold of the side panel. Fixing a melamine panel loaded with shelves into drywall with a simple plastic anchor is setting up for a pullout in the medium term.
- Concrete or solid brick wall: hammer-in or metal expansion anchors, drilled to the exact diameter of the sleeve, tightened firmly without crushing the panel.
- Gypsum board partition (BA13): Molly anchors or self-drilling metal anchors, calibrated to support the cumulative load of the shelves and their contents. Locate the metal studs with a detector and concentrate at least two fixing points there.
- Hollow partition: prefer specific wide expansion anchors (umbrella type) that distribute the load behind the board.
- Hollow brick or concrete block: chemical anchors (two-component resin injected into the hole) for reliable anchoring in a friable material.
Regardless of the support, we recommend a minimum of three fixing points per full-height side panel: one at the top, one at mid-height, and one at the bottom. Drilling in the panel should be done set back from the visible edge to avoid chipping the melamine.
Assembly of side panel and panel: dowels, eccentric connectors, or confirmation screws
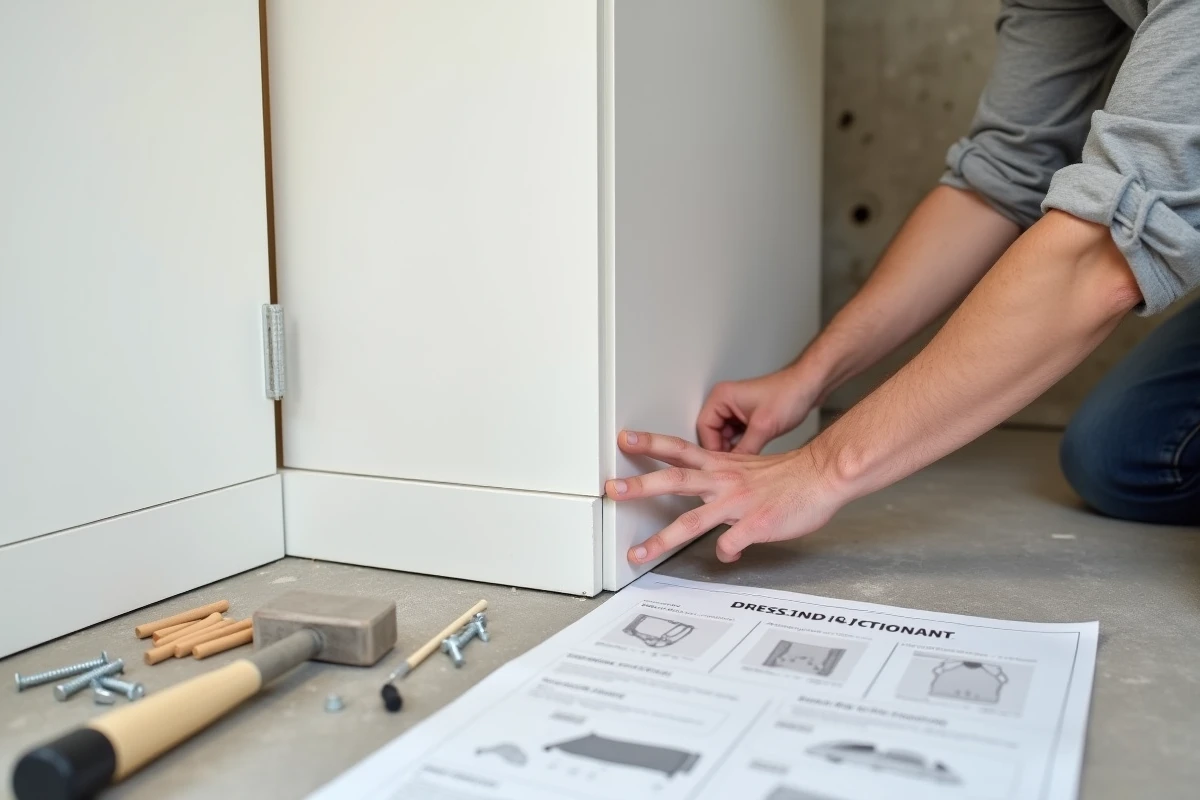
The connection between the side panel and the horizontal crosspieces (shelves, bases, caps) determines the geometry of the furniture. Three systems coexist in kits and custom-made solutions.
Wood dowels
Cost-effective solution. The main difficulty is centering the drilling. A centering jig eliminates misalignment. Glue the dowels with PVA glue, and clamp them while the glue sets. The dowel alone is not sufficient for a heavily loaded shelf: it performs poorly in shear.
Eccentrics (minifix type system)
The eccentric combines a threaded peg screwed into the crosspiece and a rotating housing housed in the side panel. A quarter turn locks the assembly. Advantage: dismountable, precise, invisible from the front. The milling of the circular housing (usually around 15 mm in diameter) requires a Forstner bit and controlled depth drilling.
Confirmation screws
Double-thread screws, screwed simultaneously into both pre-drilled panels. Solid assembly, but visible on the top or bottom edge. Acceptable on intermediate side panels where the edge remains less exposed. Always pre-drill to avoid chipping the particle board.
Final assembly and adjustment of the dressing: alignment and finishing touches
Once the side panel is secured to the wall and assembled to the crosspieces, the plumb adjustment is checked with a level on the face and the front edge. A gap of a few tenths can be corrected by slightly loosening the wall fixings, repositioning the panel, and then tightening again.
For finishing side panels (decorative panels glued against the side of the module), the fixing can be limited to a bead of neoprene glue or fixing mastic, complemented by a few headless nails driven in with a nail punch. The joint between the side panel and the wall is treated with tinted acrylic mastic, applied with a gun and then smoothed with a wet finger.
The raw edges are covered with heat-adhesive edge banding, applied with a household iron and trimmed with a cutter or trimmer. The result depends on the temperature: too low, the band will peel off in a few weeks; too high, the glue will ooze under the edge.
Securing a side panel remains an accessible operation as long as each problem is addressed separately: the appropriate wall anchoring for the support, correcting the lack of plumb, and the assembly of panel against panel with the appropriate joining system. Any shortcut on one of these steps will affect the stability of the furniture over time.